Understanding UK Paper Sizes: A Complete Guide for the Print Industry
When it comes to print projects, understanding paper sizes is fundamental to getting your job right the first time. In the UK, we use the ISO 216 standard (the A-series you’re familiar with), but how does this compare to US sizes, and what do you need to know about envelopes? Let’s break it all down.
The A-Series: The UK Standard
The beauty of the A-series paper sizes lies in their mathematical elegance. Each size maintains the same aspect ratio (1:2), meaning when you fold an A4 sheet in half, you get A5. Fold it again, and you have A6.
Common A-Series Sizes
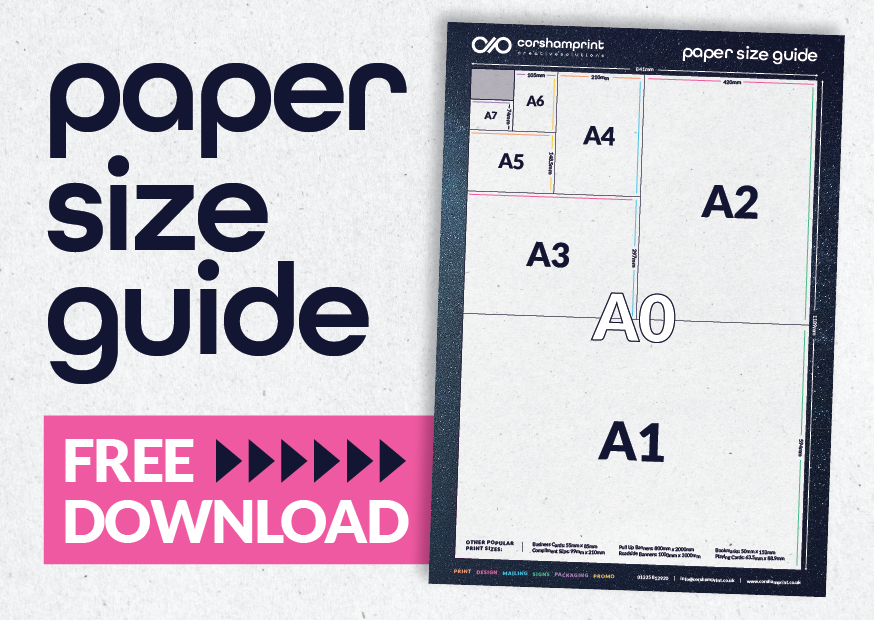
- A0: 841 × 1189mm – Perfect for large format posters and technical drawings
- A1: 594 × 841mm – Ideal for flip charts and architectural plans
- A2: 420 × 594mm – Popular for posters and display boards
- A3: 297 × 420mm – Used for tabloid-size documents and small posters
- A4: 210 × 297mm – The standard office paper size in the UK
- A5: 148 × 210mm – Common for notepads, flyers, and small brochures
- A6: 105 × 148mm – Perfect for postcards and small leaflets
- A7: 74 × 105mm – Typically used for small notepads and business cards
Why the A-Series Matters in Print
For printers, the A-series system is incredibly efficient. Because each size is exactly half of the previous one, we can optimize paper usage and minimize waste. When printing A5 flyers, we can fit two on an A4 sheet. Four A6 postcards fit perfectly on A4. This standardization makes production planning straightforward and cost-effective.
The consistent aspect ratio also means designs scale beautifully across different sizes without distortion – crucial for maintaining brand consistency across various print materials.
UK Envelope Sizes
Envelopes follow a complementary system, with C-series envelopes designed to hold unfolded A-series paper:
C-Series Envelopes (for unfolded documents)
- C6: 114 × 162mm – Holds A6 paper unfolded (perfect for greeting cards)
- C5: 162 × 229mm – Holds A5 paper unfolded or A4 folded in half
- C4: 229 × 324mm – Holds A4 paper unfolded (standard business envelope)
- DL: 110 × 220mm – The most common business envelope, holds A4 folded in thirds
Why DL Envelopes Dominate
The DL (Dimension Lengthwise) envelope is the workhorse of UK business mail. It’s designed to hold an A4 sheet folded into three equal parts, making it ideal for letters, invoices, and statements. It’s cost-effective to post and fits comfortably through standard letterboxes.
UK vs US Paper Sizes: The Key Differences
Here’s where things get interesting – and potentially confusing if you’re working with international clients.
US Letter vs A4
The most common comparison is between US Letter (8.5 × 11 inches or 216 × 279mm) and A4 (210 × 297mm).
- A4 is narrower but taller than US Letter
- A4 has 6% more surface area than US Letter
- Documents designed for US Letter may have margins cut off when printed on A4
Other US Sizes
- US Legal: 8.5 × 14 inches (216 × 356mm) – No direct UK equivalent
- US Tabloid: 11 × 17 inches (279 × 432mm) – Roughly similar to A3 but different proportions
- US Executive: 7.25 × 10.5 inches (184 × 267mm) – Falls between A4 and A5
The Practical Impact
For UK printers working with international clients, these differences matter significantly:
- Design considerations: A brochure designed for US Letter won’t fit perfectly on A4 without adjustment
- Binding and finishing: Different proportions affect how documents fold, bind, and finish
- Envelope compatibility: US #10 envelopes (the equivalent of our DL) are slightly different in size
- Print equipment: Most UK print equipment is optimised for A-series sizes
B-Series: The Middle Ground
There’s also a B-series, which sits between A-sizes and is less commonly used but valuable for specific applications:
- B5: 176 × 250mm – Popular for books and smaller publications
- B4: 250 × 353mm – Used for newspapers and oversized documents
B-series sizes are particularly useful when A-sizes are slightly too small or too large for your needs.
Practical Tips for Print Projects
For Designers
- Always confirm whether your client needs UK or US sizes before starting
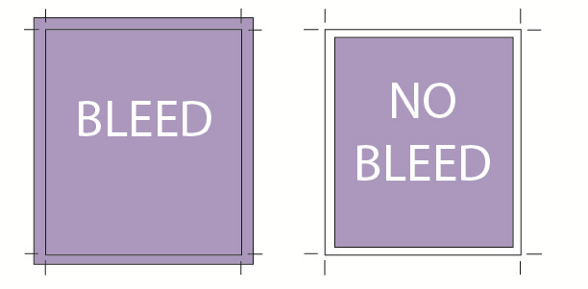
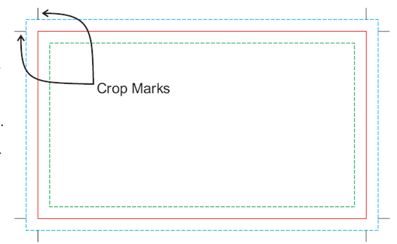
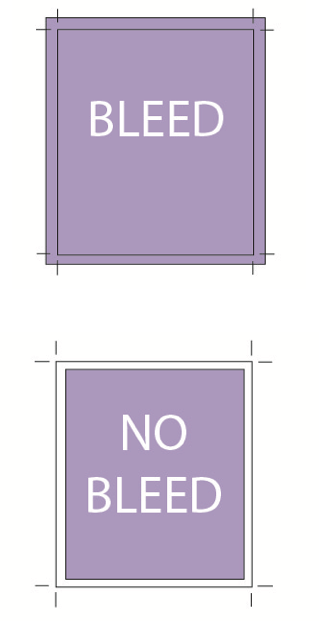
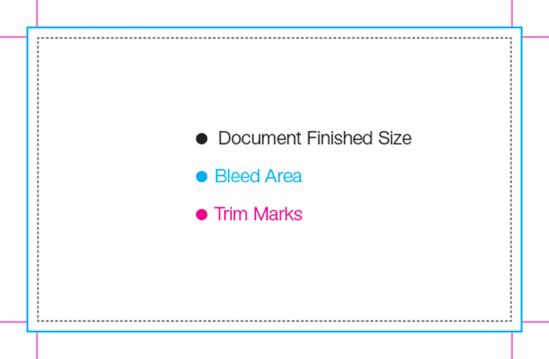
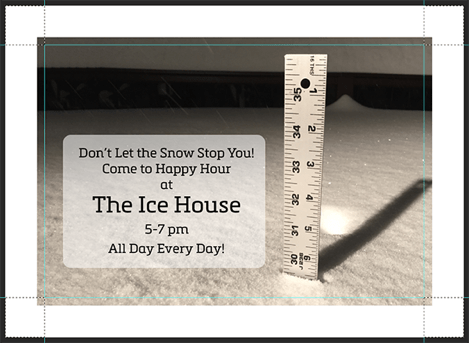
- Build in an appropriate bleed (typically 3mm in the UK) for all sizes
- Remember that A-series sizes scale proportionally – design once, adapt easily
For Businesses
- Stick to standard sizes wherever possible to minimize costs
- A5 flyers are cost-effective because two fit on an A4 sheet
- DL envelopes offer the best value for business correspondence
- Consider A6 postcards for direct mail – they’re eye-catching and economical
For International Projects
- Always specify measurements in both metric and imperial
- Check envelope compatibility if mailing internationally
- Consider your audience’s expectations – US clients expect Letter size
- PDF files should specify page dimensions to avoid confusion
The Environmental Advantage
The mathematical precision of the A-series system isn’t just elegant – it’s environmentally responsible. The ability to cut multiple smaller sizes from larger sheets with minimal waste means less paper in landfill and more efficient use of resources. At Corsham Print, our FSC certification combined with the efficiency of A-series sizes helps us minimise environmental impact while delivering quality print.
Conclusion
Understanding paper sizes might seem like a small detail, but it’s fundamental to successful print projects. The UK’s A-series system offers efficiency, scalability, and environmental benefits that make it the global standard outside North America. Whether you’re printing business cards, brochures, or large format posters, knowing your A4 from your US Letter – and your C5 from your DL – ensures your project runs smoothly from design to delivery.
Need help choosing the right paper size for your next print project? Get in touch with our team at Corsham Print – we’re here to make sure your print works perfectly, every time.